I still remember my first no knead bread recipe attempt. It was a wet, sticky blob that I was convinced would never turn into anything. Six years later, I’ve made this loaf hundreds of times. The secret isn’t fancy flour or a stand mixer. It’s time. And a heavy Dutch oven. This recipe uses a 12–18 hour slow ferment to build gluten without any kneading. You mix, wait, shape, and bake. The result is a rustic loaf with an open crumb and a shattering crust. Let’s walk through it, including the exact schedule I use and the mistakes I see most often.
What Is No Knead Bread?
No knead bread is a high-hydration dough (around 70–75% water to flour weight) that develops gluten through a long, slow fermentation instead of physical kneading. You mix the ingredients with a spoon, cover the bowl, and let it sit at room temperature for 12 to 18 hours. During that time, enzymes break down starches and proteins naturally align to form a strong gluten network.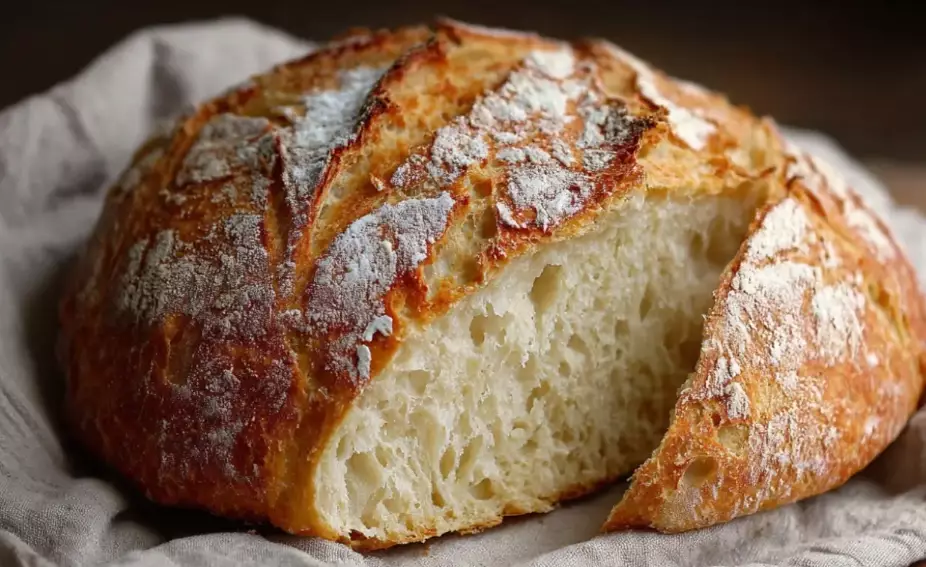
The method became famous after Jim Lahey of Sullivan Street Bakery published it in the New York Times (the article “The Minimalist” by Mark Bittman). I’ve since tested dozens of variations. The core principle holds: time replaces elbow grease.
One non-consensus point: many beginners think a no knead dough should look like a smooth ball after mixing. It won’t. It looks like thick porridge. That’s correct. If your dough is smooth and holds a shape at this stage, you’ve added too much flour. The slack, wet dough is what creates those big air pockets.
Ingredients You Need (And Why Each One Matters)
This is a minimalist recipe. Four ingredients. No fancy tools. Here’s what goes in:
- Bread flour (400g / about 3 cups): Higher protein (12–13%) gives better structure. All-purpose works in a pinch, but the loaf will be slightly flatter.
- Water (300g / 1¼ cups), lukewarm (around 90°F / 32°C): Cool water slows fermentation too much. Hot water kills yeast.
- Instant yeast (1g / ¼ teaspoon): Yes, that little. A long ferment needs very little yeast. More yeast = faster rise = less flavor.
- Fine sea salt (8g / 1¼ teaspoons): Salt controls yeast activity and strengthens gluten. Don’t skip it or reduce it.
I’ve tried adding olive oil or honey. Both change the crust texture—less crackly, more tender. For a classic artisan loaf, stick to the four.
Step-by-Step No Knead Bread Recipe
Here’s the exact schedule I follow for a Saturday morning bake. Start Friday afternoon.
Step 1: Mix the Dough (5 minutes, Friday 4 PM)
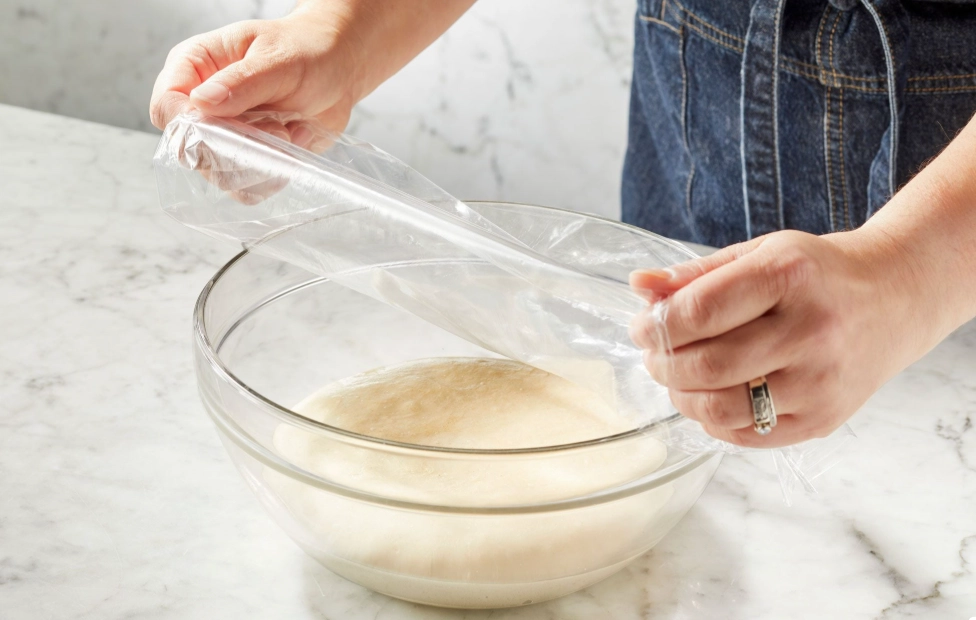
In a large bowl, whisk together flour, yeast, and salt. Pour in the lukewarm water. Stir with a wooden spoon or your hand until no dry flour remains. The dough will be shaggy and sticky. Cover the bowl with plastic wrap or a damp towel. Leave it on the counter at room temperature (68–72°F / 20–22°C is ideal).
Step 2: Let It Ferment (12–18 hours, overnight)
Walk away. Seriously. The dough will triple in volume and develop bubbles on the surface. If your kitchen is warm (above 75°F), check at 12 hours. If it’s cool (below 65°F), give it up to 20 hours. The dough is ready when it looks spongy and has a sour, yeasty smell.
Step 3: Shape (10 minutes, Saturday 8 AM)
Turn the dough out onto a lightly floured surface. It will be very wet. Flour your hands. Fold the dough over itself four times (like folding a letter). Gently shape it into a rough ball. Place it seam-side down on a piece of parchment paper. Cover with a towel and let it rest for 1 hour while your Dutch oven preheats.
Step 4: Preheat the Dutch Oven (45 minutes, Saturday 8 AM)
Place a 5.5-quart Dutch oven (with lid) in your oven. Set the oven to 475°F (245°C). Let it heat for at least 45 minutes. The pot must be screaming hot.
Step 5: Bake (45 minutes total, Saturday 8:45 AM)
Carefully remove the hot pot from the oven. Lift the parchment paper with the dough and lower it into the pot. Score the top with a sharp knife or lame (one deep slash). Put the lid on. Bake for 30 minutes. Remove the lid. Bake another 15–20 minutes until the crust is deep brown. Internal temperature should read 210°F (99°C).
Step 6: Cool (1 hour)
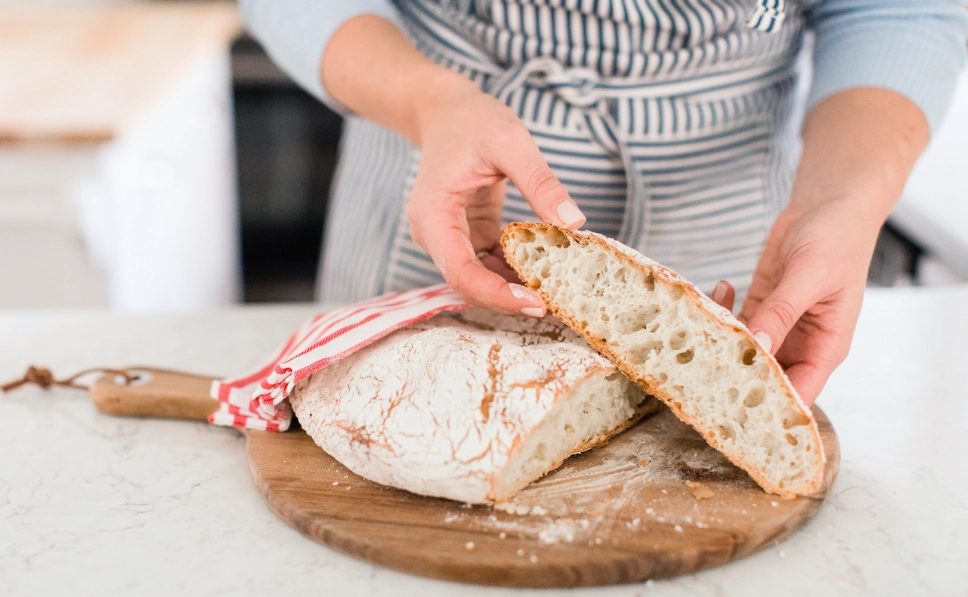
Lift the loaf out and place it on a wire rack. Wait at least 1 hour before slicing. I know it’s hard. But cutting hot bread makes the crumb gummy. The steam needs to escape.
Dutch Oven vs Regular Pot: Which Works Better?
I’ve baked this no knead bread recipe in three different vessels. Here’s how they compare based on my own tests:
| Vessel | Crust Quality | Oven Spring | Ease of Use | My Verdict |
|---|---|---|---|---|
| Enameled cast iron Dutch oven (5.5 qt) | Excellent, shattering | High | Heavy but simple | Best overall |
| Bare cast iron combo cooker | Very good, slightly thicker | High | Lighter than Dutch oven | Great alternative |
| Stainless steel pot with lid | Good, but less blistered | Moderate | Lid may not seal tightly | Works, but not ideal |
| Ceramic Dutch oven | Good, even browning | Moderate | Can crack with thermal shock | Use with caution |
The key is trapped steam. A heavy lid keeps moisture in during the first 30 minutes, allowing the crust to expand fully before setting. A regular baking sheet with a water pan works, but the crust won’t be as shiny or blistered.
How to Fix Common No Knead Bread Problems
After years of baking, I’ve seen the same issues pop up. Here’s what to do.
The dough is too wet to shape
It happens. Flour your work surface generously (1/4 cup or more). Use a bench scraper to fold the dough over itself a few times. Don’t add flour to the bowl during fermentation—that ruins the ratio. Just handle it with wet hands and a light dusting.
The loaf didn’t rise in the oven (no oven spring)
Three causes: (1) the Dutch oven wasn’t hot enough—preheat for a full 45 minutes; (2) the dough over-fermented—if it sat more than 20 hours, it loses strength; (3) you forgot to score the top—steam needs an escape route.
The crust is pale and soft
Your oven temperature is too low. Use an oven thermometer. My oven runs 25°F cool, so I set it to 500°F to compensate. Also, bake uncovered for the last 15 minutes—don’t pull it early.
The crumb is dense and gummy
You probably cut the bread while it was still hot. Let it cool completely. Also check your yeast—if it’s old or stored improperly, the dough won’t ferment enough. A 1-gram dose is tiny; if your yeast is dead, nothing happens.
FAQ: No Knead Bread Recipe
Fact-checked against the classic New York Times no-knead method and my own baking logs.

Leave a Comment