If you're asking yourself why is my bread dense, you're in good company. I baked 14 brick-like loaves before I finally made a light, airy sourdough. The culprit was almost never what I thought: it was my kitchen temperature. After 200+ home bakes and a few professional bakery shifts, I've learned dense bread comes down to five factors: yeast health, gluten structure, fermentation time, shaping, and baking conditions. This guide walks through each one with fixes you can apply today.
Quick Fix Finder (Tap to Jump)
Is Your Yeast Dead? The 10-Minute Test
Most dense bread starts with weak yeast. I can't tell you how many times a reader swore their yeast was fresh, then showed a photo of zero bubbles after 15 minutes. Here's a quick test I do every time I buy a new batch: stir 1 teaspoon of active dry yeast into ½ cup of 110°F (43°C) water with a pinch of sugar. Wait 10 minutes. You want a thick, beige foam layer—not a few bubbles. If it looks like a stale pond, your yeast is dead.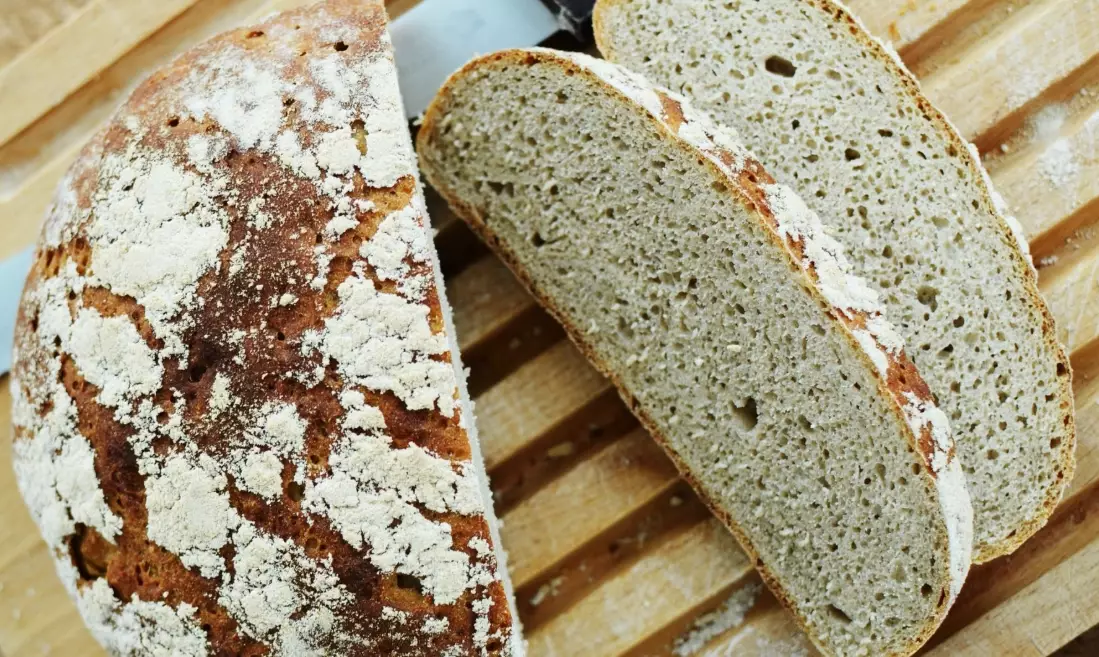
Which Yeast Should You Use?
Instant dry yeast (also called rapid-rise) dissolves straight into flour and gives a more consistent rise. Active dry yeast needs proofing first, as outlined above. Fresh cake yeast has the shortest shelf life but the most predictable fermentation. For home bakers, I recommend instant dry yeast because it skips a step and survives slightly higher water temperatures.
Non-consensus tip: Your “instant” yeast packet is not always instant. I've tested three popular supermarket brands where the water temperature above 120°F (49°C) killed half the yeast. Use a $10 instant-read thermometer. It's the single cheapest upgrade for consistently airy bread.
Why Dough Hydration and Gluten Matter
Here's the thing most recipes leave out: dense bread is often a gluten development problem, not a yeast problem. If your dough never gets a windowpane structure—thin enough to see light through—gas escapes before it can puff up. No amount of extra yeast will fix that.
How to Fix Under-Developed Gluten
Skip the stand mixer for a minute. I mix flour and water (no yeast yet) and let it rest for 30 minutes—this is called autolyse. Then add yeast and salt. The dough already feels more extensible. After mixing, do stretch-and-folds: every 30 minutes, grab one side of the dough, stretch it up, and fold it over. Four sets during the first two hours. You'll feel the dough tighten from soupy to bouncy.
Water ratio? A 65–70% hydration dough (flour weight × 0.65) is beginner-friendly for sandwich loaves. At 80%+ hydration, the dough can't hold gas without excellent shaping—and that's a common cause of dense, gummy bread in recipes you find online.
| Hydration Level | Typical Dense Bread Issue | Quick Fix |
|---|---|---|
| 55–60% | Crumb is tight and dry, bread feels heavy | Add 5% more water next time |
| 65–72% | Usually reliable, dense only if under-proofed | Extend bulk fermentation by 30–45 min |
| 75–85% | Gummy, dense center from trapped moisture | Reduce to 72% or master high-hydration shaping first |
Has It Actually Doubled? Fermentation Timelines
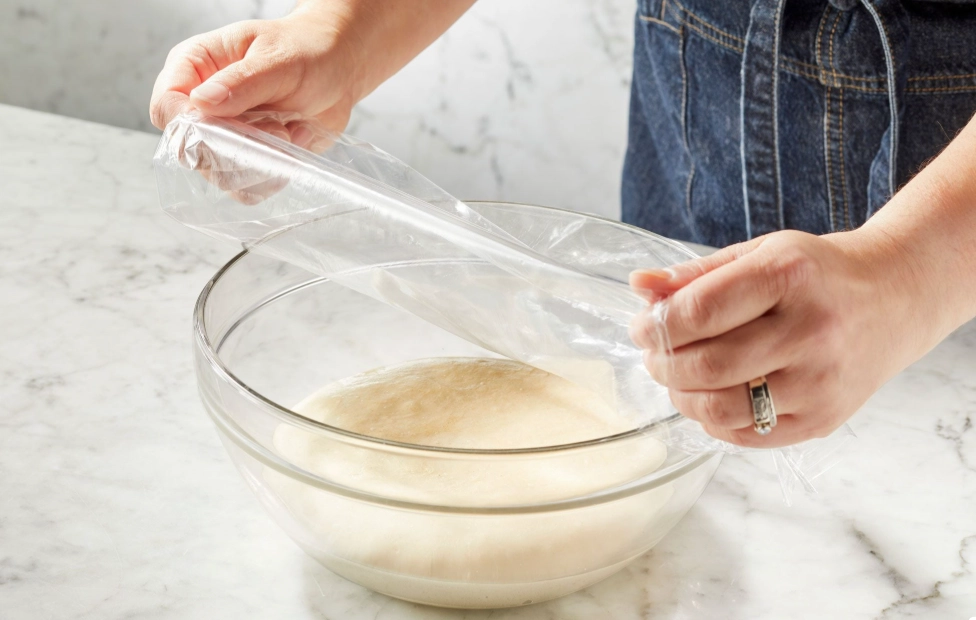
“Let rise until double” is vague—and in a cold kitchen, it's a trap. I once made a dense loaf in January because my dough sat at 63°F (17°C) for three hours and barely moved. Fermentation is temperature, not clock. If your dough looks the same after 90 minutes, your kitchen is too cold.
How to Tell If Your Dough Is Proofed
Use the poke test. Poke the dough with a floured finger, about ½ inch deep. If the indent springs back immediately, it needs more time. It's ready when the dent fills back slowly and incompletely. Under-proofed dough tears during shaping and bakes into a dense core. Over-proofed dough smells like beer and collapses flat in the oven.
Practical temperature hack: Fill a glass measuring cup with 1 cup of boiling water. Place it next to your dough inside a closed microwave (turned off). The trapped steam keeps the chamber at roughly 78–82°F (26–28°C) for about 45 minutes. This is my go-to in winter.
Are You Shaping and Proofing Correctly?
Shaping is where you build surface tension. If you just plop the dough into a loaf pan, the exterior can't trap gas—your bread will be dense at the bottom and slightly better at the top. I learned this the hard way: my early sandwich loaves had a rubbery 1-inch layer at the base.
Three Shaping Steps That Actually Matter
- Preshape and rest 20 minutes. Let the dough relax so it doesn't fight back. If it springs back when you roll it, wait another 10 minutes.
- Stitch the seam. After folding the dough into a log, pinch the seam shut. Then drag the dough toward you on a damp counter to tighten the top “skin.” This is the step most home bakers skip—and it's a major reason for dense loaves.
- Proof seam-side down. In a loaf pan, the seam goes at the bottom; in a banneton, the seam goes up. This keeps gas trapped inside.
How to Fix Dense Bread in the Oven
You can do everything right up to the baking stage and still end up with a heavy loaf. Two reasons: no steam and the wrong oven temperature.
A dense crumb often comes from a low initial oven rise, called oven spring. When dough hits a 250°C (480°F) oven, water in the dough turns to steam and puffs the loaf instantly. If the oven is too cool—or if you open the door too early—that spring never happens. I preheat a cast iron Dutch oven for 30 minutes at 250°C (480°F). For sandwich loaves, I put a metal tray of boiling water on the bottom rack. Steam keeps the crust soft so it can expand during the first 10 minutes. After 10 minutes, remove the steam to let the crust brown.
What About Over-Kneading?
Common advice says over-kneading makes bread dense. That's true but overblown for home bakers. You'd have to knead for 15+ minutes at high speed to truly break down gluten. Your stand mixer at medium speed for 5–6 minutes won't do it. The real problem is under-kneading combined with under-fermenting. I see this every weekend in baking forums.
Real Baker Q&A
This article was fact-checked against the King Arthur Baking hotline troubleshooting guide and my own baking logs.


Leave a Comment